When making no selection, i.e. cancelling during the selection process the program will return status code 1, whereas before it would carry the same return code as when making an emoji selection. Fixes #20. |
||
|---|---|---|
| assets | ||
| test | ||
| .gitmodules | ||
| .woodpecker.yml | ||
| bemoji | ||
| CHANGELOG.md | ||
| LICENSE | ||
| README.md | ||
bemoji ❤️ - Quickly ⛏️ your 🌟
Emoji picker with support for bemenu/wofi/rofi/dmenu and wayland/X11.
Will remember your favorite emojis and give you quick access.
📁 Installation
Dependencies
- One of
bemenu,wofi,rofi,dmenu, or supplying your own picker. - One of
wl-copy,xclip,xselor supplying your own clipboard tool. - One of
wtype,xdotoolor supplying your own typing tool. sed,grep,cut,sort,uniq,tr,curlif using the download functionality.
To see how to substitute the default choices with your own tools, see Options below.
Manual
Option 1. Clone the repository and put the executable somewhere in your path:
git clone <INSERT-REPOSITORY>
chmod +x bemoji/bemoji
mv bemoji/bemoji /usr/local/bin/bemoji
rm -r bemoji
Option 2. Clone the repository and link the executable to your path:
git clone <INSERT-REPOSITORY>
chmod +x bemoji/bemoji
ln -s bemoji/bemoji /usr/local/bin/bemoji
Arch Linux
On Arch Linux, bemoji has been packaged for the AUR so it can be installed manually from here or easily with your preferred AUR helper, e.g.:
paru -S bemoji-git
💿 Usage
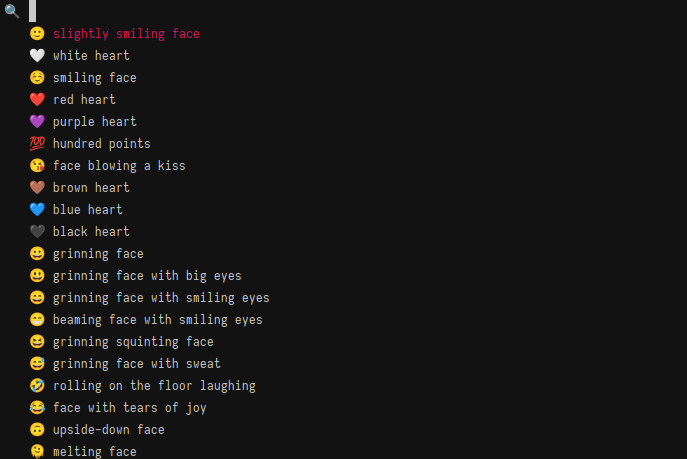
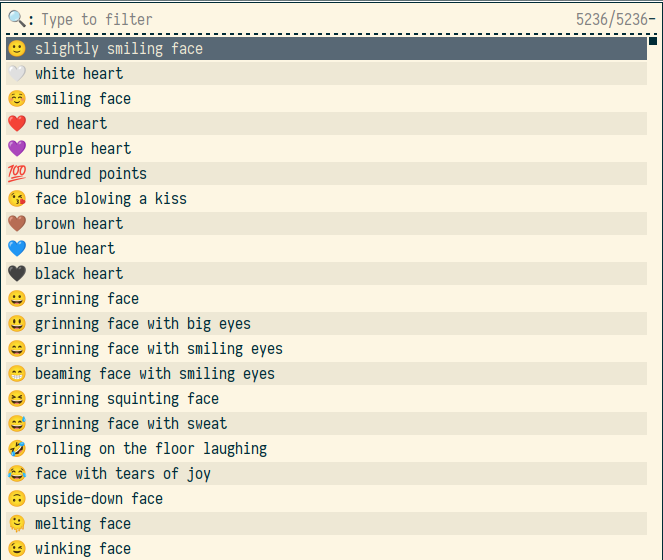
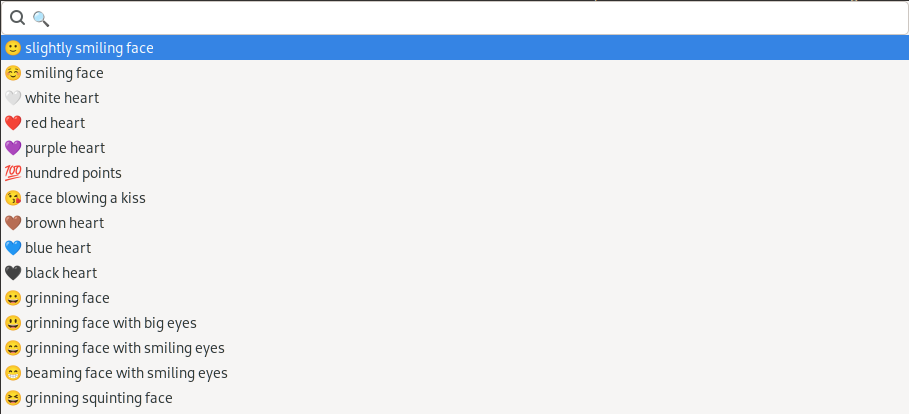
Simply execute bemoji without any options to set up the default emoji database and let you quickly pick an emoji.
It will be copied to your clipboard for you to paste anywhere.
If you execute bemoji -t it will directly type your emoji directly into whatever application is in focus.
When the emoji list is open you can always press Alt+1 to send the selected emoji to clipboard and Alt+2 to type the selected emoji,
regardless of what the default action is set to.
(Currently works in bemenu and rofi.)
You can also map the picker to a key combination for quick access, e.g.
In swaywm, put the following in ~/.config/sway/config:
bindsym Mod4+Shift+e exec bemoji -t
For i3, put the same into ~/.config/i3/config:
bindsym Mod4+Shift+e exec bemoji -t
For riverwm, put the following in ~/.config/river/init:
riverctl map normal $mod+Shift E spawn "bemoji -t"
In sxhkd, put the following into ~/.config/sxhkd/sxhkdrc:
super + Shift + e
    bemoji -t
And you can easily type any emoji with the help of Super+Shift+E.
🧰 Options
bemoji comes with a couple of options to specify actions, emoji libraries and directories being used.
Adding your own emoji
Simply put your own emoji list into the bemoji data directory.
By default, the directory will be at your $XDG_DATA_HOME/bemoji location -
most likely this is ~/.local/share/bemoji.
Add any number of .txt files containing additional emoji to this directory:
🫦 Biting lip
🫶 Heart Hands
The lists need to have the format 🙂 description of emoji with a whitespace separating the emoji and its description.
The description can have as many words and whitespaces as you want.
Ignoring the most recent emoji
By default, bemoji will sort the list it displays by your most frequently and most recently used emoji. To disable this behavior, execute bemoji like the following:
bemoji -P
This will stop bemoji from re-ordering your emoji lists before displaying them.
You can also stop bemoji from adding any emoji to your history in the first place:
bemoji -p
This will not add any of the emoji you pick to your recent emojis. Put both together to completely ignore the recent emoji feature of the program:
bemoji -Pp
Like this, you'll be hiding any recent personal emoji and no one will know that you always type 👄🍆💦.
The recent list will also contain emoji that are not usually on your lists, so kept in single-use lists for example. If you don't wish those to show up, make use of these options.
Setting custom directories
By default bemoji stores your recent history in $XDG_STATE_HOME/bemoji-history.txt,
so most often in ~/.local/state/bemoji-history.txt
You can overwrite the directories bemoji uses for its emoji lists and history files with the following two environment variables:
BEMOJI_DB_LOCATION=/path/to/my/emoji/directory
BEMOJI_HISTORY_LOCATION=/path/to/my/state/directory
There are no equivalent commandline arguments to overwrite these two settings.
Display one custom emoji list
A custom emoji list can be supplied as commandline argument -f or BEMOJI_CUSTOM_LIST environment variable.
bemoji -f path/to/my/list.txt
The list will override the normally presented emoji,
so that only the custom list and recent emoji will be displayed.
To display only the emoji list passed in, pass an extra -P flag to bemoji.
The path can also be a weblink which bemoji will download and use:
bemoji -f "https://raw.githubusercontent.com/jchook/emoji-menu/master/data/emojis.txt"
Download additional emoji set
bemoji automatically downloads an emoji list for you to use on first invocation. By default, it only downloads emoji, though you can have it download math symbols as well. To download additional sets, execute bemoji like the following:
bemoji -D all
This will download all default sets bemoji knows - which is currently the default emoji list and a long list of math symbols.
Other valid options for this setting are emoji, math, none.
bemoji -D "math emoji"
The above command is equivalent as you can mention multiple sets you want downloaded.
If set to none and no files are in the emoji directory,
bemoji will complain and not show anything.
Do not skip to new line after output
By default, bemoji will craft the final output using a typical echo call for anything it prints directly.
That means, it will also contain a final newline character.
So, for example it would technically output 🦊\n for the fox emoji,
which skips to a new line in most circumstances.
If you wish to prevent this character in the final output, use:
bemoji -n
Using this option will suppress the newline character and only print 🦊 as its output.
Using a custom tool for picking, clipping, typing
If you want to replace one of the default supported tools with your own you can do this through environment variables:
BEMOJI_PICKER_CMD="path/to/your/picker-tool"
BEMOJI_CLIP_CMD="path/to/your/clipboard/tool"
BEMOJI_TYPE_CMD="path/to/your/xdotool"
This is pretty experimental and you'll have to see how well it works for you. The setting can not be changed through the commandline alone.
Execute a custom command with my emoji
You can execute bemoji with the -e flag with which you tell it not to do anything but echo out the chosen emoji.
This can be very useful for creating your own little script with it:
bemoji -e | cat <(echo -n "https://emojipedia.org/") - | xargs xdg-open
This snippet will open a wiki page for the picked emoji in your browser.
Of course, there are many more possibilities. This is just an example to show how the echo mode works.
A list of all environment variables
What follows is a list of all environment variables bemoji understands, with their default settings
BEMOJI_DB_LOCATION=$XDG_DATA_HOME/bemoji # where the emoji lists reside
BEMOJI_HISTORY_LOCATION=$XDG_STATE_HOME # where the state file resides
BEMOJI_CUSTOM_LIST="" # the custom emoji list to display
BEMOJI_DOWNLOAD_LIST="" # the default emoji lists to download to database
BEMOJI_DEFAULT_COMMAND=<clip-tool> # which command to invoke by default
BEMOJI_PICKER_CMD=bemenu # which picker tool to use
BEMOJI_CLIP_CMD=wl-copy # which clipboard tool to use
BEMOJI_TYPE_CMD=wtype # which typing tool to use (ydotool will NOT work)
BEMOJI_PRIVATE_MODE=false # whether to save new entries
BEMOJI_IGNORE_RECENT=false # whether to display recent entries
BEMOJI_ECHO_NEWLINE=true # whether to end the output with a newline character
🤗 Issues
Thanks for checking this program out! ❤
If there are any problems, don't hesitate to open an issue.
If you have an idea or improvement, don't hesitate to open a merge request!
Running tests
This project makes use of bash-bats (community fork) to test some of its functionality.
To run the tests locally, simply execute ./test/bats/bin/bats test.
I would suggest running the test suite in docker instead, just to minimize the possibility of something going awry and borking up your local file system.
To run the tests in a docker suite, execute docker run --rm -it -v "$PWD:/code" bats/bats:latest /code/test


